Having decided to build a layout based on that of a steam railway preservation centre, of which the are a number around the UK, what loco should I build? The choice of a preservation centre brings a wide choice of locomotives and rolling stock, since most of these sites do not specialise in a particular former railway company. So what type of locomotive first? With my lack of experience, I would go for a very simple kit of a small locomotive, without the complications of articulated coupling rods and extensive valve gear - just keep it simple and relatively inexpensive. That way, if I could not summon up the skills and patience, then not much is lost (but I will learn a little more about myself).
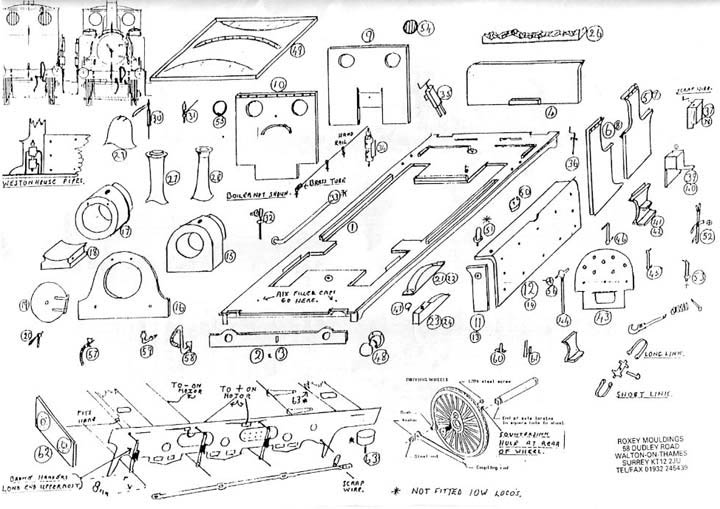
Having looked through the adverts in modelling magazines and a trawl through the internet, the kit of an ex Southern Railway 'Terrier' tank loco was purchased. The 'Terrier' is a diminutive and well loved loco once seen on Southern Railway branch lines, prior to the demise of steam in 1967. However, several of the class are still working on steam preservation railways. The kit contained mostly white metal castings for the body, a pre rolled brass boiler and brass etch for the chassis. One of the primary skilled needed in kit building is that of soldering. My soldering experience has been confined connections in telecommunications installations and the occasional bit of plumbing - not good. However, as the body is white metal the choice of soldering, super glue or epoxy resin is available to join the parts. The decision, epoxy resin. To give myself some confidence, the goal was set to build the body first. Achieving this would give the flip to tackle the chassis, which has to be soldered.
After a couple of false starts, due to not achieving the right mix of epoxy resin and hardener, the body was competed, not to a bad standard (I think) and my goal had been achieved. Now to soldering the chassis. Because there are many parts to be soldered together, solders with different melting points have to be used, so that when attaching new parts to those already soldered, they remain soldered. The chassis proves to be a much greater challenge, for it has to be built square and the bushes for the axels have to be in line both horizontally and vertically , otherwise it just won't run. Fortunately, a phone call to Tom, up the road (the scratch builder), prompts an invitation "bring it round and we well have a go together". Three hours or so later, I am on my way home with a rolling chassis. Having learnt more about soldering, and as a test, laminated three pieces of brass together to form the coupling rods. There were also many more bits to be soldered together to complete the chassis. These were duly attached, though not with the expertise displayed by Tom.

So the bits have been either epoxied or soldered together, now comes the paint job. Again not my area of expertise. The only paint I have put on metal, is to cover up the scratches and dents on the car, another learning curve to navigate. I felt having managed to get the kit to this stage, mostly on a wing and a prayer and informed help, some proper training on model painting was called for. Via the internet, I found a company called Hobby Holidays, located on the Nottinghamshire, South Yorkshire border, that run weekend railway modelling courses. There next model finishing weekend was due in six weeks, so up I was signed.
The course was run by Ian Rathbone, one of the premier league players in the field of model finishing. Ian is a professional and makes a living from commissions to both build and finish model locomotives and rolling stock. The quality of his work is superb. Over the weekend we learnt the basics of airbrushing and lining locomotives. On my return from the course, I had the confidence to tackle the 'Terrier' with an airbrush, though I chose a livery that did not require any lining work (in truth that decision was made prior to building).